Moen is one of the largest kitchen faucet manufacturers in the world and makes both single and double handle faucets. While their faucets are durable, the will certainly begin to leak after some time, requiring new components or repair because of how the handles grind when being used. A loose handle may also be an indication that your faucet needs to be replaced or repaired. By taking your Moen Faucet apart, it becomes easier to replace or repair it.
There are different types of kitchen faucets and each type will usually require some steps to be followed before it can be removed. Moen kitchen faucets for that matter are quite different too. Depending on the kind of accessories the faucet is designed to handle, it may come with up to 4 installation holes. These may include built-in soap dispensers, aerators etc. Therefore, before doing any other thing, it is important to first of all determine how many holes are being filled depending on your preference and the configuration of the kitchen sink.
And again, when it comes to the removal of a Moen Kitchen Faucet, it is important to consider the equipment used and the size of the water lines. Most Moen Faucets usually come with a flex line at 3/8” compression. This will usually mean that the angle stops used under the sink should be 3/8” compression valves. If not you may have to change them to that size or they won’t fit. It is therefore important that you understand your kitchen faucet very well and have all the required equipment, tools and replacement parts ready before you start replacing the system.
When about to start on the replacement project, it is always essential to have an installation instructions guide to help you go about it. However, if you face any problem or are not confident that you will get the work done perfectly, then it would be advisable to call in a professional to handle the task or to get in touch with one for advice.
There are two Moen faucet styles. The older faucet works a bit differently from the newer version. With it, the handle is first of all pulled out before being pushed in towards the base in order to control water flow. The newer ones only require a part of the handle to be lifted for water to be turned on or off. As such, the newer type has more parts and usually requires more time to disassemble. The good thing however, is that the removal of a Moen Kitchen faucet is not that complicated and can be handled by anyone with the right tools and attitude.
Be it you are looking to remove your kitchen faucet for repairs or simple to replace it, it is important that you have the right tools. These are like pliers, a basin wrench, screw drivers, and a drill (in cases the screws in the old faucet have stripped out).
Steps on How to Remove a Moen Kitchen Faucet
- Disconnect the water. The first and most important step is to disconnect water supply to faucet you want to remove. Most people end up wetting their whole kitchen just because they forgot to shut off the water to the faucet. Before doing any other thing, you need to search for the faucet water supply valve, which is usually located right under the sink, or the main water valve and shut off water supply to the entire house.
- Depending on the faucet type, it is important to first of all locate the setscrew within the handle. This screw will usually be at the front of the handle. If not present in that location, the look beneath the cap on top of that handle.
- Pry off the index plate from the faucet handle using a flathead screwdriver. This plate/cap is usually decorative and basically covers the retaining screw.
- Using a screw driver, unscrew the retaining screw to pull off the handle from the faucet.
- Once the handle has been removed, it will expose a bonnet nut at the top of the faucet. You will need to disconnect your faucet’s flex lines from the sink’s stop valves right under it. To unscrew these lines, you will need to use 2 pairs of pliers. With one set, hold the sink’s angle stop valve while unscrew the flex line with the other set.
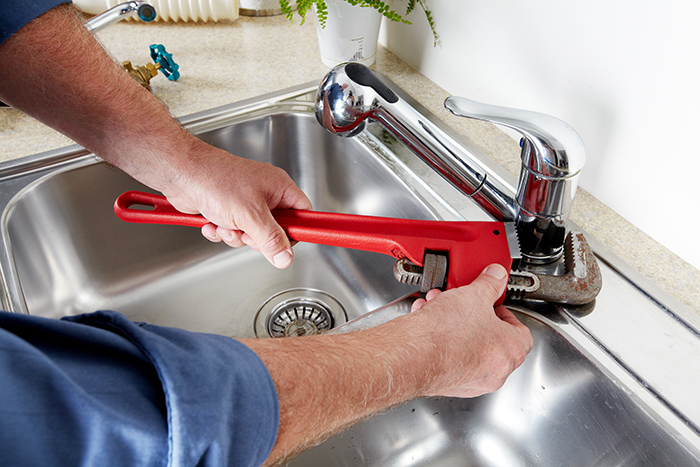
- Using a basin wrench, get under the sink and remove the old nuts that may be holding the faucet. Once all nuts, screws and bolts have been unscrewed, you can then pull out the faucet from the sink.
Tips on successfully removing your kitchen faucet
- When removing a kitchen faucet, it is important that you not be in a hurry. Turn off the water supply before starting and take your time when removing or unscrewing any components. This way, you could avoid accidents or damaging the sink; that is if all you are looking to replace is the faucet.
- To handle a successful replacement, it is important that you have the required tools by your side. At the same time, you have to ensure that you already have the replacement parts purchased. This way, removal and replacement is a onetime task.
- The most important thing is that if at any time the removal of your faucet develops any complications, call in a specialist to look into the matter for you. If things go out of hand, do not try to solve them your own way rather have a specialist come in and resolve the problem.
While this is most basic way to remove a Moen kitchen faucet, there are some that will require a different approach. As such, the best thing to do before removing your Moen kitchen faucet would be to consider looking at its installation and removal guide to understand the different parts of the system, how it works and how to replace different parts or the entire system.


