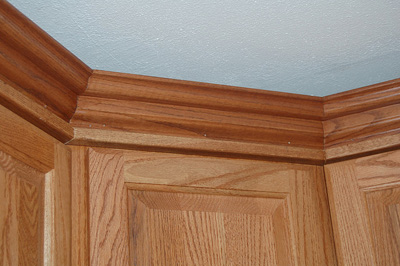
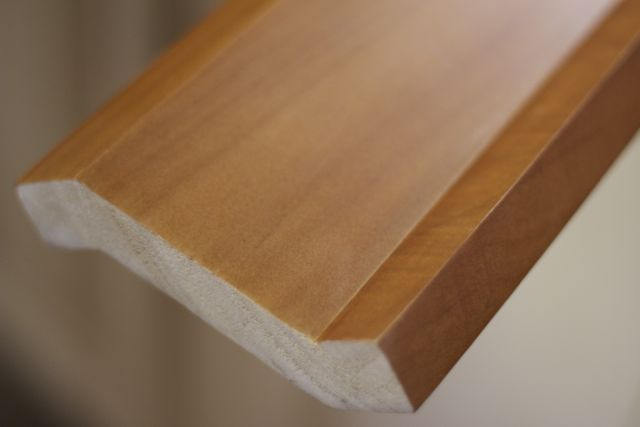
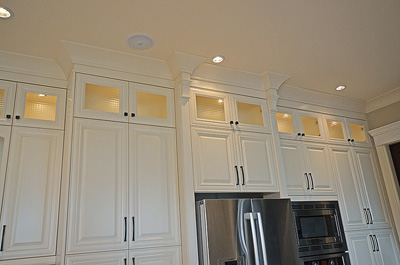
Since installing crown molding on kitchen cabinets is known as the best way to make your cabinet look new, you will find out that there are several ways to make your kitchen cabinet looks amazing. It will be about some tips that you can get to add crown molding on your kitchen cabinet. Crown molding will always be the best solution to make you kitchen cabinet looks updated with very simple detail added on the cabinet.
Instead of hiring professional to help you crown molding, you can do it yourself by following some simple steps to prepare how to do such a DIY work to install this part of the cabinet. It will be such an additional part of a kitchen cabinet that will be the accessory to make it look more beautiful than ever. Furthermore, you will also find out that there will be several things you need to prepare and tips you can follow to help you install this crown molding on your cabinet. Follow these further tips and step below to help you further on installing crown molding on kitchen cabinets.
Installing Crown Molding on Kitchen Cabinets – Steps and Preparation
It is important to do a good preparation for installing crown molding on kitchen cabinets. You need to find some tools and things to help you install the crown molding. Those things that you might need including: measuring tape, pencil, paper, miter saw, pneumatic nail gun, caulk or wood putty, paint or stain, and paint brush. Those are several things that you need to prepare. Once you have ready with them, you can move to the process.
First, you will find measurement is a very important step in this DIY work. The side and front of the kitchen cabinet will be the most important part you need to measure with a measuring tape.
Second, once you have the measurement, you can mark a piece of crown molding. After you have done marking, you can put it on the table of miter saw and cut it according to the mark you have made. The angle of cutting the crown molding will be very important for the corner part.
Third, now you can bring the crown molding that has already been cut. You might need assistance to set it into place on the cabinet. After you have precisely put the crown molding, you can now you use your pneumatic gun to nail it.
Fourth, colored caulk or wood putty is now needed to fill the nail holes. Add it with caulk or putty and wait to dry. You can paint or stain it when the putty or caulk has totally dried. It is important that you pay attention on small things on the cabinet since you need your kitchen cabinet look flawlessly beautiful. For those who might never try it, you will find it is quite bothering at first. However, it is worth it to try as you will find your own work result.


