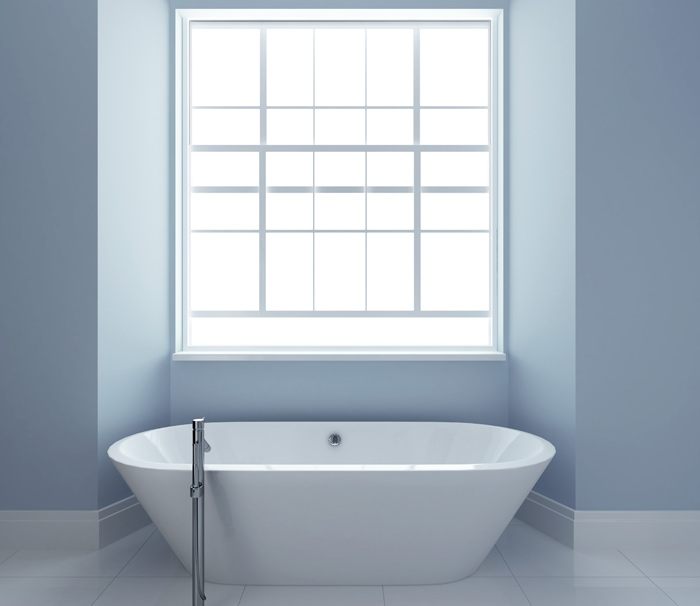
 It goes without saying that a bathtub is actually one of the most used facets of any house. Due to this simple fact, it is easy to see why many bathtubs will end up looking older than they are even after just a few years of being in use. Over time, you might need to replace it if you feel as though you need a better looking one or there may even be a need to change up the color so that you will be able to match up with the current look and design of your bathtub. Instead of purchasing a brand new bathtub, which can be quite costly, you can look into resurfacing your bathtub on your own to save quite a bit of money. In some cases, you can save yourself hundreds of dollars just by learning how to resurface bathtubs on your own.
Believe it or not, the process of resurfacing a bathtub is actually quite easy to do when compared to other bathroom renovation projects. As long as you have the patience and proper planning, you can take an old bathtub and make it so that it looks just as good as new. Pick a weekend or a day or two when you have some free time so that you can gather up all of the items that you need and you can begin working on a new look for your bathtub.
When it comes to resurfacing a bathtub, there will be a variety of chemicals involved, some of which could be harmful to you if you are not careful. It is important that you take the time to protect yourself so that you have the ability to avoid mild to serious injuries. Always make sure that you work in an area that is well ventilated as it is the fumes that will be emitted from these chemicals that can be toxic to you. Since the chemicals can work to irritate or burn your skin or your eyes, you will need to wear protective clothing as well as goggles that will protect your eyes. If you have a ventilation mask, you will also want to use it during the resurfacing process.
Clean the surface of your bathtub with chemicals that will remove dirt residue as well as soap scum. These chemicals will also help you so that the bonding agent is able to adhere to the surface. You then need to rinse and dry all of the surfaces before taking a palm sander and working the surface so that it is prepared for the paint to fully bond. Be sure to tape over any areas that you do not want to get paint on, especially if you are going to be using a spray gun.
Prepare your primer according to the instructions on the bottle and paint the surface with even motions for consistency of coverage. Apply at least two coats of the primer, leaving about 30 minutes in between each coat to allow for drying. Then apply three coats of your acrylic top coat, with the same intervals in between for drying. Once all of the top coats are finished, you will want to allow anywhere from 24 to 48 hours so that the resurfaced bathtub has had enough time to dry fully before using it.
The great thing about resurfacing your bathtub on your own is that you can do a professional looking job with the right materials and planning. When all is said and done, you are going to have a bathtub that looks like new and you can have the added satisfaction that you were able to save money in the process.


